
SET UP YOUR ORGANIZATION

Sign up to create a new organization to start using Teamdeck
It takes less than 10 minutes to configure your organization in teamdeck. When it’s done, you can start inviting your team members and start scheduling their work.
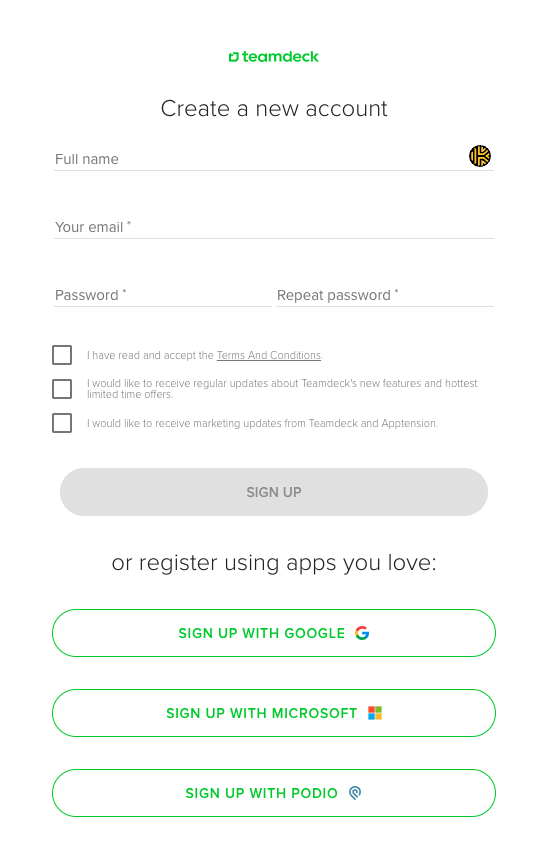
Step 1: Head to the Teamdeck homepage and enter your email to set up a new account. You can also sign up using Google, Microsoft or your Podio account.
Step 2: Check your inbox - you should see an email from teamdeck entitled Activate your account. Open this email and click on the Go to my dashboard button.
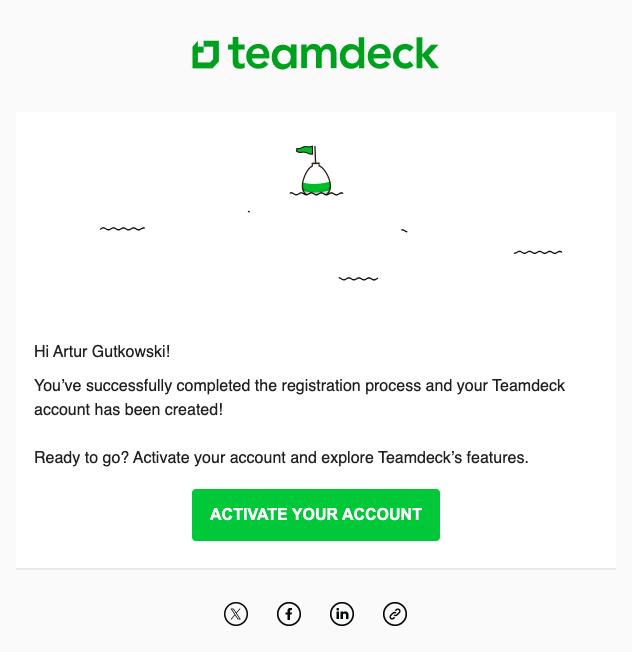
We will ask you to confirm your activation by signing in to the app.
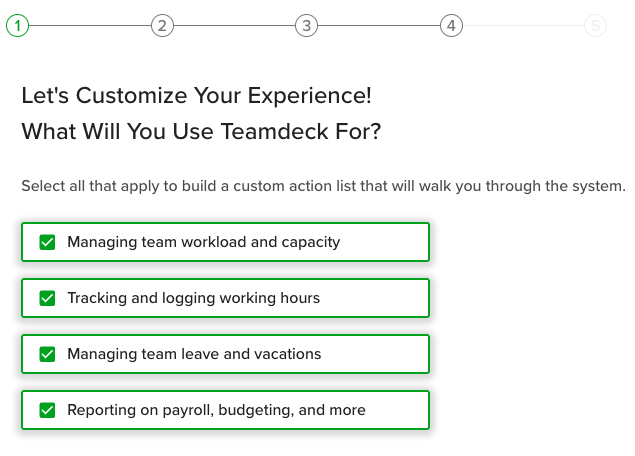
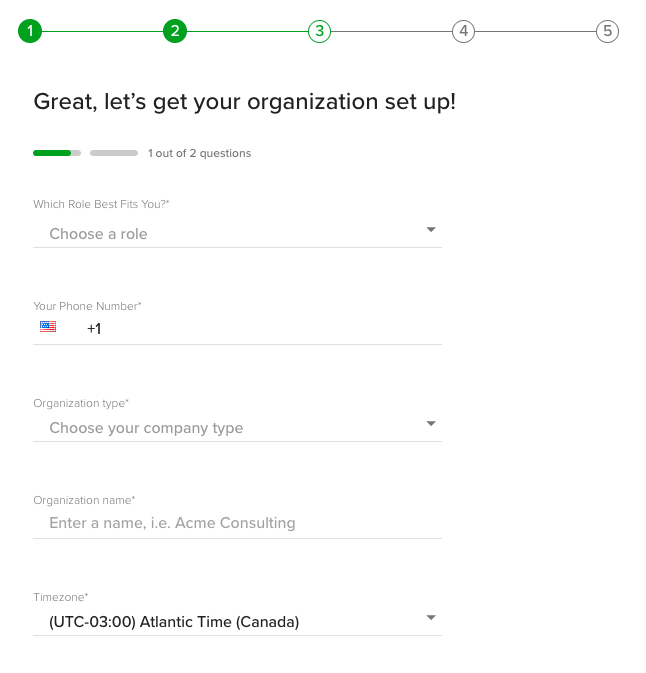
Step 3: Complete the onboarding process and set up your own organization or play with sample data.

Step 4: Complete the checklist to finish setting up your organization
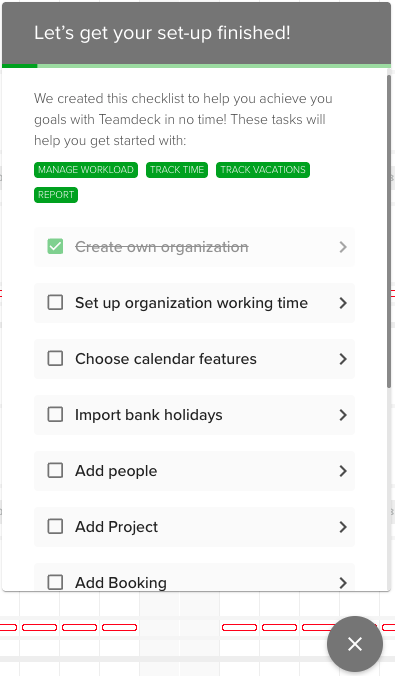
NOTE: You don’t need to go through the all of the steps, but they would help to better suit teamdeck to your team’s needs.
Checklist: It’s time to configure a couple of details related to your team’s working time:
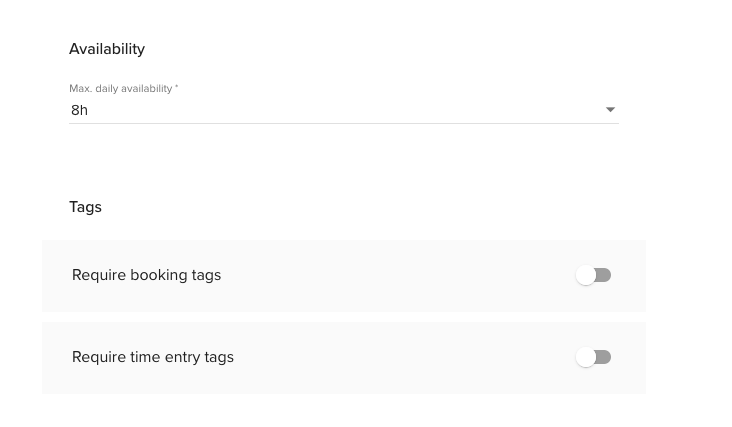
Max. booking time - you can set a limit here to make sure the daily bookings don’t exceed a certain amount of hours. If you leave it at 24 hours, your team members will be able to be booked for any number of hours per day.
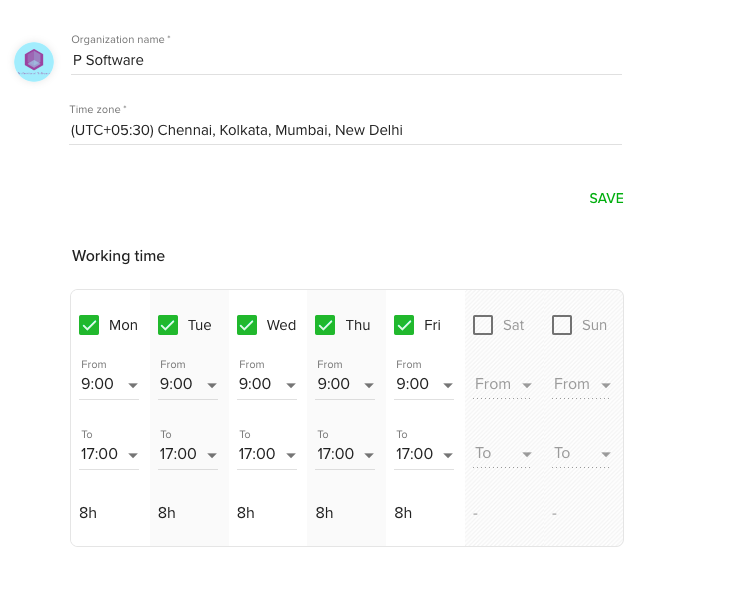
Working time - here, you can specify which days you work on. This input will help us customize your schedule & timesheet to reflect your working patterns. For each day you can set your organization’s standard number of working hours. This will allow teamdeck to calculate your team’s utilization.
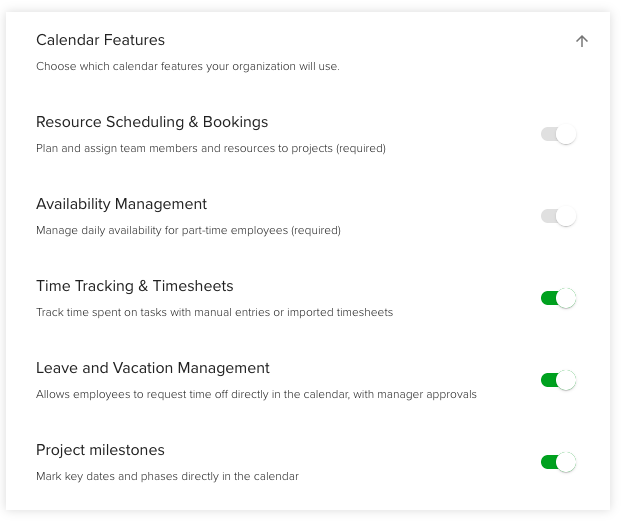
Calendar Features - For organizations that want to just focus on resource planning, Time tracking, Leave Management, and Project Milestones can be disabled.
Here, you can configure settings related to your full-time employees and define their default availability. In teamdeck, part-time team members can specify their exact availability for each day so that you know when to expect them at work. You can enable them to define their own availability in settings > people.
Final touches! Decide whether you want to allow for weekend booking (this option is disabled by default and you can activate it by switching it on) and add an avatar to your organization.
Check other organizational settings to configure Teamdeck according to your current policies and processes.
You’re all set! Click save and start inviting people on board.